Tuesday, January 11, 2011

Movies


This video is my top ten pictures that I have taken throughout the semester. The video below is of my favorite digital photographer. I chose Matt Stuart, and here are my favorite pictures by him.

Type Portrait


For the past two weeks I have been working on making myself out of typed words. We had to describe and write facts about ourselves and use those to form a picture of us! Above is the origninal, then below is my final type portrait. Ta daaaa!

Friday, January 7, 2011

Scanography


Today I learned a technique called 'scanography.' It's exactly what it sounds like. You have to lay three objects on a scanner (two objects, one picture) and let the scanner save it to your pictures. The first one is me when I was eight. Below, it's my necklace my grandmother gave me, and then last is part of my blanket I've had since I was born.

CameraRAW Portraitss


One day in class we picked a partner and took pictures with them. We had to use various techniques, lighting, and such. Then we had to edit three of them in CameraRAW. These are my final pictures!

Skin Smoothing


Before break, we had to find a picture of a person, and smooth their skin. I chose to do my brother because he has red marks and mole/freckles on his cheek :). The image on top is before, and below it is after.

Wednesday, December 15, 2010

OuT oF pRoPoRtIoN

With any picture we found on the internet or one that we've taken, we had to crate and image that had something out or proportion. I used a picture of my mom and a picture of flowers I foudn on the internet.

Tuesday, December 14, 2010

FAF Poster

Last week we had to design a poster for this year's Fine Arts Festival. We had to include this year's date, location, artist information, graphic designer (me), the Ablemarle County logo, and headlines. This was what my final image looked like!

Monday, December 6, 2010

Reflections

Today we had to pick a photo and use a tutorial to change it. The theme was reflections. I chose to do a simple reflections picture with my dog. It only took a few steps and it looks pretty cool!

Thursday, December 2, 2010

nate is the best, I mean he is just the best. I love him

Hockney Style

The past two days we have been working on copying David Hockney's work. We had to chose our favorite picture that we have taken throughout the whole year and change it using his style. Hockney take parts of his photo and rearranges them to make it look like a collage. Ta-da! (The ta-da is for JMILLS)

Monday, November 29, 2010

Portrait Photography


Over break we had to take 40-50 pictures of peoples using differnt shooting techniques. Then we had to create three different final images using our top three face close ups. Once we did the three pictures, we had to do a fourth of our own choice. I chose to do another black custom shape picture (my dog).

Friday, November 19, 2010

Can You Find The Difference?


This past Wednesday, we took a field trip to the downtown mall, where we had to take pcitures of certain things. This week we have been woking on making Can you spot the difference? pictures. We had to edit five pictures in Camera RAW and then change those five into two different pictures. Can you figure mine out?

Photo Aging!

On Monday, we had to chose a photo we took a while back and change it to make it look old. I chose to do a picture of trees. We had to make it sepia, add a filter, clur it, and then chose to rip it or stamp it. I chose to add a coffee stain.

Tuesday, November 16, 2010

Collage!

This week and part of last week we had to go through a list of different artists and chose which artist's work we liked the most. All the artists were collage artists. We had to replicate the artists work by imitating their style, but at the same time create our own artwork. I chose to do Marco Modi, he focuses on objects and interior and exterior scenes. I chose to make a meadow become a desert, and light to night. I think it looks pretty random, but good!

Wednesday, November 10, 2010
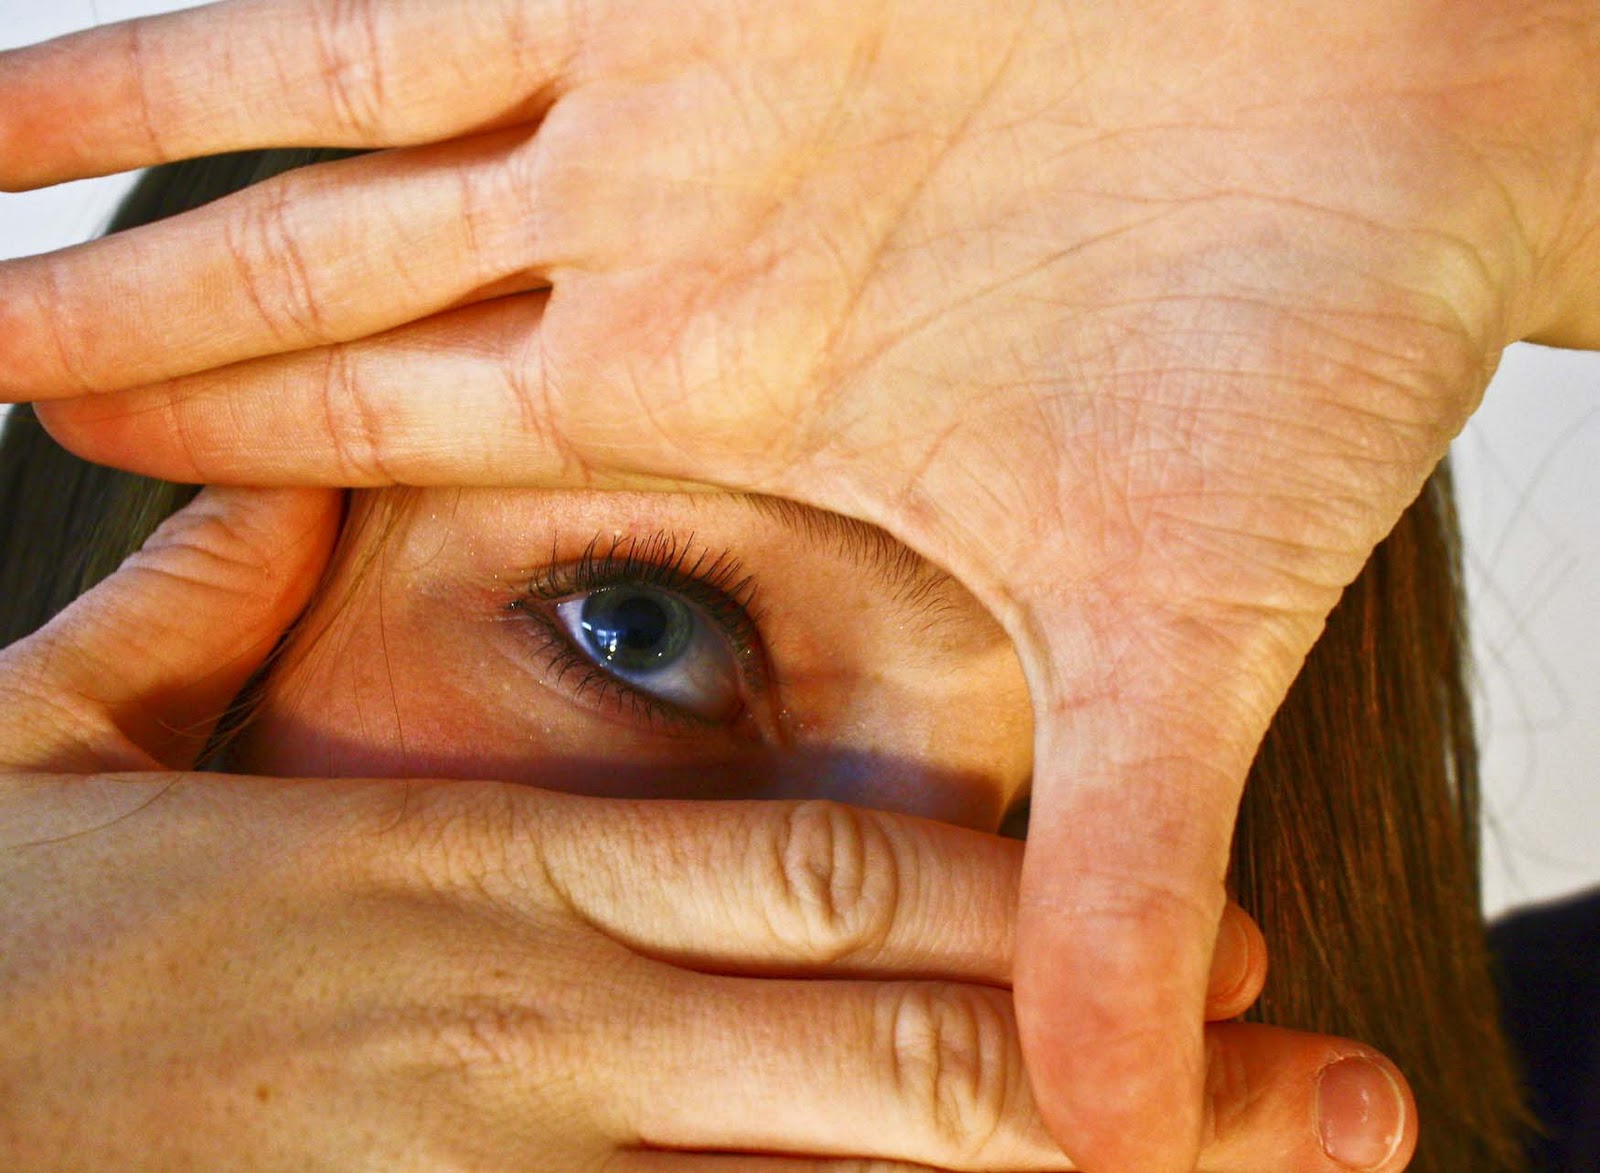
Hands At Work


This past weekend, we had a photoshoot assignment to take pictures of "hands at work." Then, we had to create three different images showing warm colors (nails), cool colors (braids), and emerald colors (phone). I made these images using layer mask and changing the layer mode. We had to replace all the original images with the new images in order to change the layer mode. After, I got these three pictures!

Thursday, November 4, 2010

Lights :)


Last week we were introduced to a new tool called the Pen Tool. We had to trace a path, flip it, copy it, rotate it, color it, and change the blending mode to whatever we wanted in order to get the effect we wanted. When we were changing the color, we were shown another new tool called Gradient, which is how we got our rainbow swirl. Then we had to go on a website and choose a lights design we wanted to do (last picture).

Wednesday, November 3, 2010

Typography!

For this project we had to create an image using only letters or numbers. Everything in this picture is made up of letters. Enjoy!

Wednesday, October 27, 2010

MIDTERM!

Today, we had to take our Midterm. This was my final project. We had to copy two of these four people and paste them on to our background (the street corner). Then, we had to give our two people shadows in order to make the picture realistic. After that, we had to drag the fire hydrant on to our background, and layer mask the background of the fire hydrant picture. I decided to give that a shadow too. Then for extra credit, we had a choice of adding another object into the picture. I chose to copy and paste a pigeon on top of the street sign.

Tuesday, October 26, 2010

Macro High Pass


For this project, we had to select our favorite images we shot over the weekend. We have to choose six of them and edit them by using high pass. High pass is a fancy option for clarity. First, you have to copy the background, second, you change the blending mode to overlay. Then you go to your filter options and choose high pass sharpening. You control the amount of sharpening it puts on your picture. You want it to accent the main part of your image. Then we had to do it over again for the rest of the images.

Friday, October 22, 2010

Macro Photography Examples (:


This weekend, we have a shooting assignment to shoot in macro setting. Macro photography is taking pictures up close and catching details that the naked eye couldn't usually see. Also, macro photogrpahy usually takes photos with repetition, texture, line, colors, and so on. We had to look up photos of macro photography and pick at least three that we liked. These are my favorites that I saw. I liked the colors, repitition, and the overall look of these pictures.

JUMPING Off The Page

The project title pretty much says it all. This week we learned how to make images look like they have perspective. We learned how to make a make a smaller bow for our object to jump out of, how to transform it into looking far way, close up, and how to give objects a drop shadow. I chose to do my favorite animal (killer whale) jumping out of the ocean and off the page.

Tuesday, October 19, 2010

Camera RAW


This week we learned about a new program called CameraRAW. It allows you to change the image before opening it up in PhotoShop.We had to change five images using a vignette (sky), clarity (wine glasses), white balance (lamp), exposure (guitar), and black input/output (puppy). The advantages of CameraRAW are that it can be deleted and corrected before you save it or edit it in another program.