Wednesday, October 27, 2010
MIDTERM!
Today, we had to take our Midterm. This was my final project. We had to copy two of these four people and paste them on to our background (the street corner). Then, we had to give our two people shadows in order to make the picture realistic. After that, we had to drag the fire hydrant on to our background, and layer mask the background of the fire hydrant picture. I decided to give that a shadow too. Then for extra credit, we had a choice of adding another object into the picture. I chose to copy and paste a pigeon on top of the street sign.
Tuesday, October 26, 2010
Macro High Pass
For this project, we had to select our favorite images we shot over the weekend. We have to choose six of them and edit them by using high pass. High pass is a fancy option for clarity. First, you have to copy the background, second, you change the blending mode to overlay. Then you go to your filter options and choose high pass sharpening. You control the amount of sharpening it puts on your picture. You want it to accent the main part of your image. Then we had to do it over again for the rest of the images.
Friday, October 22, 2010
Macro Photography Examples (:
This weekend, we have a shooting assignment to shoot in macro setting. Macro photography is taking pictures up close and catching details that the naked eye couldn't usually see. Also, macro photogrpahy usually takes photos with repetition, texture, line, colors, and so on. We had to look up photos of macro photography and pick at least three that we liked. These are my favorites that I saw. I liked the colors, repitition, and the overall look of these pictures.
JUMPING Off The Page
The project title pretty much says it all. This week we learned how to make images look like they have perspective. We learned how to make a make a smaller bow for our object to jump out of, how to transform it into looking far way, close up, and how to give objects a drop shadow. I chose to do my favorite animal (killer whale) jumping out of the ocean and off the page.
Tuesday, October 19, 2010
Camera RAW
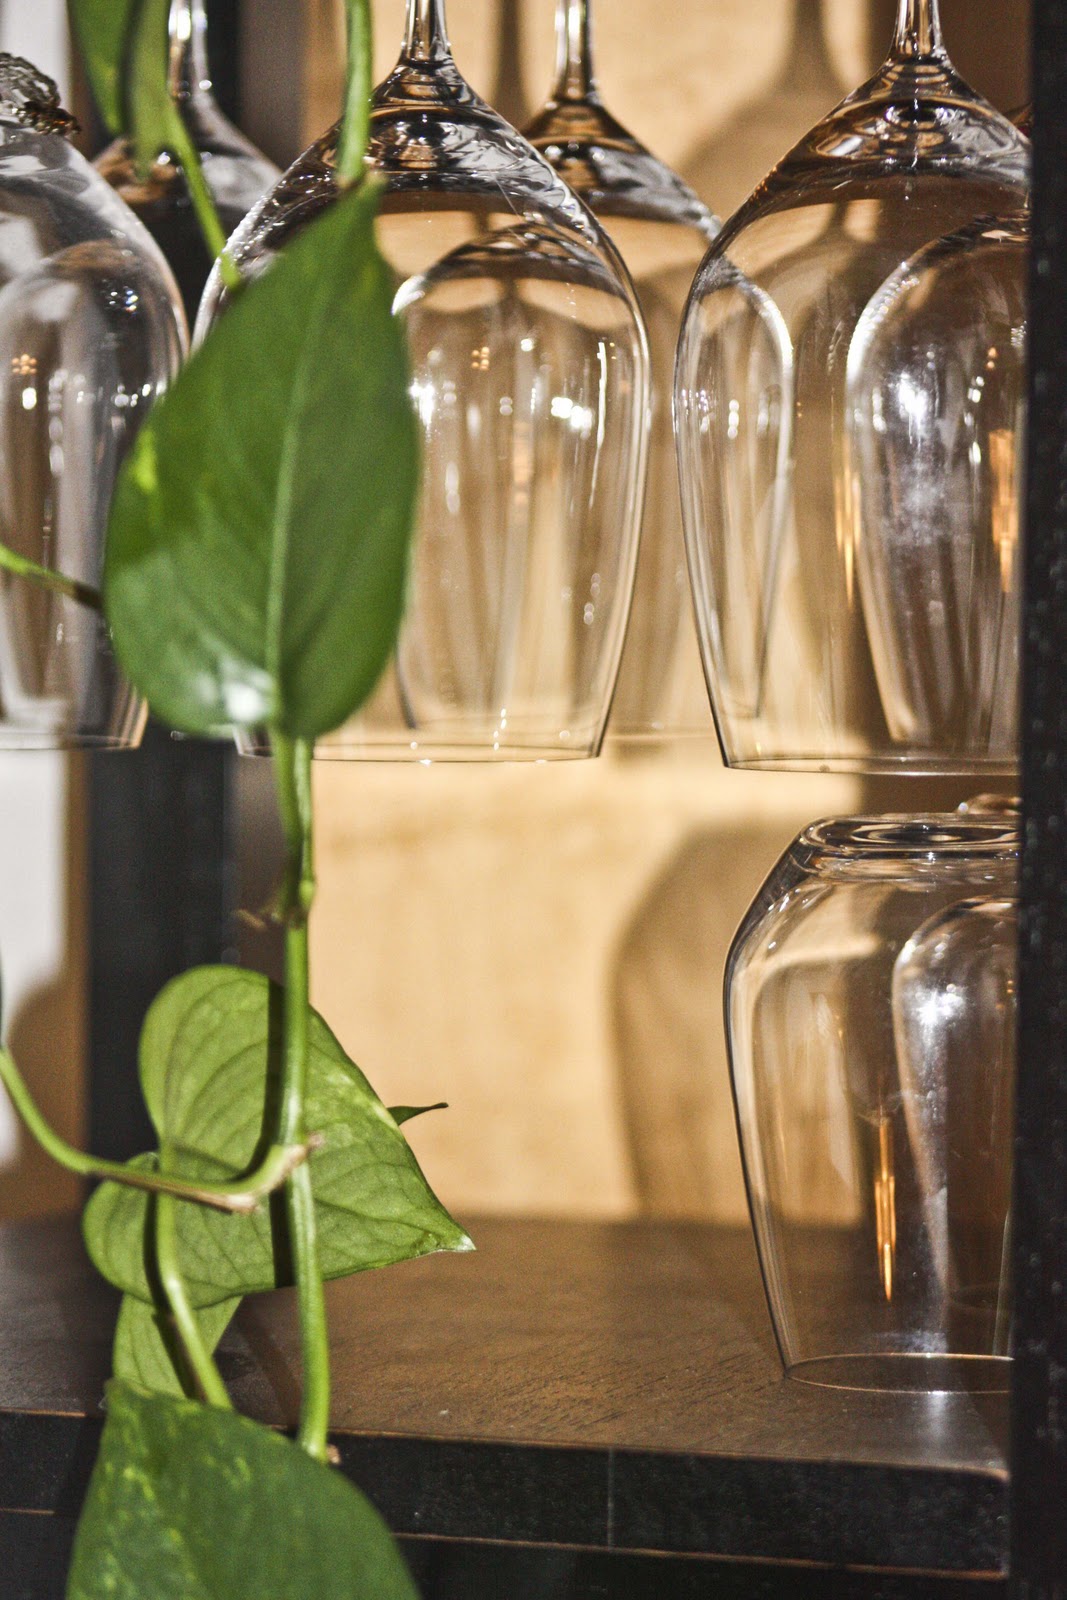
This week we learned about a new program called CameraRAW. It allows you to change the image before opening it up in PhotoShop.We had to change five images using a vignette (sky), clarity (wine glasses), white balance (lamp), exposure (guitar), and black input/output (puppy). The advantages of CameraRAW are that it can be deleted and corrected before you save it or edit it in another program.
Friday, October 15, 2010
Spoooooooooky Picture...
For this project, we had to go online and find a tutorial on how to change a picture of a person or place into a creepy photo. I chose to change a picture of Jordan and make her a vampire. I changed her hair, her skin, her lips, her eyes, and I gave her fangs.
This is another spooky picture I did.. It's supposed to be scary. This is of me as a vampire. I used the same techniques as I did for Jordan.
Thursday, October 14, 2010
Carters Mountain!
Last Wednesday, the digital imaging classes took a trip to Carters Mountain. We had a shooting assignment to take a picture of landscape, barns, houses, etc. We had to pick our top five images that we shot. Then we had to change all of them. We were required to add text to two images, change three of the five images to black and white or sepia, color correct one image, and then we had a free choice. These are all my finished pictures!
Wednesday, October 6, 2010
Visual Puns!
This project is called visual puns (most people should know what that is). Just kidding, a visual pun is a picture that creates a new meaning. It takes two total different meanings and combines them into a new picture. The viewer should be able to understand what the image is trying to say. In this assignment, we had to come up with two visual puns. Mrs. Lewis gave us a list that we could choose from, but I chose to come up with my own. If you look at the picture above, you should see it represents apple of my eye. (:
This is my second visual pun. I chose to do a rock star! I cut out a picture of a rock and pasted it to my star. :)
Monday, October 4, 2010
Top Five Rule Of Thirds (:
Over the weekend, we had a shooting assignment on rule of thirds. We had to shoot at least fifteen images, all that showed one of five characteristics: nature, line, people, landscape, and repetition. The pictures I have uploaded each have their own characteristic. At the top, there is a plant, that is nature. Second, I have a picture of my dog, my teacher said we can use animals instead of people, so he counts as my person. (: Third, you have the guitar. I figured the strings would work for my line picture. Below the guitar, you have my backyard, that represents landscape. Last, you have a basket, that shows repetition. Hope you like them.
Friday, October 1, 2010
Kaleidoscope Painting!
My picture I uploaded is my own creation. Mrs. Lewis taught us new brushes and techniques we can use to create different images. You can change the size, shape, color, dynamics, everything. After we created out image, we had to change it to a kaleidoscope picture, using our previous lesson. This is the final picture.
Thursday, September 30, 2010
Rule Of Thirds Top 3
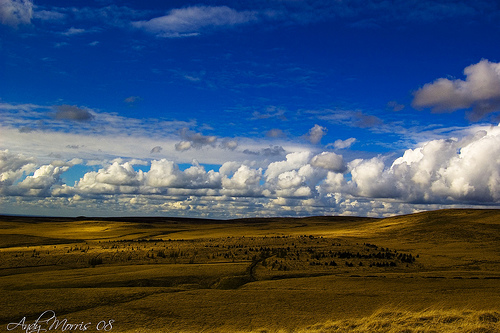
As you can see, I have uploaded three images. These images all have one thing in common: rule of thirds. Rule of thirds is when your eyes is drawn to certain areas of an image. If an image has rule of thirds, it is like having imaginary lines going across and down the picture. It is called the rule of thirds because it divides the image into three small boxes. Most of the time, your eye is drawn to intersecting lines. Each picture varies.
Wednesday, September 29, 2010
Tools Review
This project may look a little wierd, but it's supposed to. It's called tools review because we had to use everything we have learned and make a final picture. While we made it, we had to write down the steps. I used layer masking, the elliptical marquee tool, quick selection, and a few others. The girl on the right is originally part of the background (the tree). I added the girl on the left, the dog, the water bottle, and the soccer ball. Then, to finish my project, I added the little boys face to the tree.
Tuesday, September 28, 2010
Kaleidoscope
For this project, we had to choose two images that we liked that we had taken from our previous shooting assignment. I chose to do my gray and white driveway picture (the second photo), and my image of a girl walking down a ramp with bricks and weeds (the first photo). If you look at my earlier post you will see both of the photos. I really like how they both look. We had to go through multiple steps such as flipping, turning, duplicating, and merging. But in the end the final image is really cool!
Wednesday, September 22, 2010
Top Five (:
This post shows five pitcures that I took for our camera assignment. These are my favorite five that I took. Four of these pictures I took at my house. The only one I didn't take at my house was the one of the person walking down the brick with the weed in the way. That one was taken at the Covenant Upper School. Hope you like them!
Pop Art
This project was all about pop art. In my last post, I put up three images that stood out to me. For my project, I chose to do a picture of my dog. To give it this "comic book" effect, I had to first change the image to black and white. Then I had to scroll through the levels of black the image would show to see which one showed the main points of the picture. Which in this case, it's my dog and the soccer ball. I kept the grass a dark and light green, and added Ben Day dots. Since my dog is black, I had to color him gray in order to keep the pop art feel. Then for the soccer ball, I used two contrasting colors that would stand out. Over all, I really like the look of my picture.
Tuesday, September 21, 2010
Pop Art Selections
These three images are all pop art. Pop art was created by Roy Lichtenstein. We were supposed to find three pop art images that stood out to us. I chose the soccer ball image because I play soccer and it is my favorite sport. I chose the kiss one because I love the look of a kiss mark. Then I chose the umbrella because it has so many colors and the cars on it make it stand out even more.
Friday, September 17, 2010
Change Looks: Jordan
This project goes along with changing my look. When we took pictures with our partner, we got to chose one of you and your partner to edit. I chose this picture of Jordan because she was posing and standing and it worked with what I had in mind. I put her new background as the Leaning Tower of Pisa. Then for her objects I decided to put a purse, because she likes shopping; a chocolate lab, because she loves those kinds of dogs; and then I put a tattoo on her ankle just for fun. Then I switched her to being a blonde. I used the same tools for this image as I did the other.
Changing Looks: Me
In this project, we had to change the look of ourselves. We were required to take picture with a partner, then choose one that we wanted to do. I chose to do a close up in order to change my hair and eyes. We used old tools and new tools to create a new look. We had to have at least three other objects in the picture with us, along with a new background. I chose to put Ian Somerhalder in with me, because I am a huge fan of him. Then for fun I put the dreamworks guy on the "H" in the sign, and a man on a moped on top of the hill. And then there is an eagle flying in the background. I also changed my hair to blonde and my eyes green.
Subscribe to:
Posts (Atom)